

How to digital detox in only three days?
Unlike everybody running up all Scottish peaks, hills and Munros I wanted to avoid the crowded rush on the summits and therefore decided to stay down on the plateau between Stac Pollaidh (612 m) and Cul Beag (769 m) – enjoying total isolation – all alone. Perfect for my digital detox!
Day 1; August 19th, 2018

[click to enlarge]

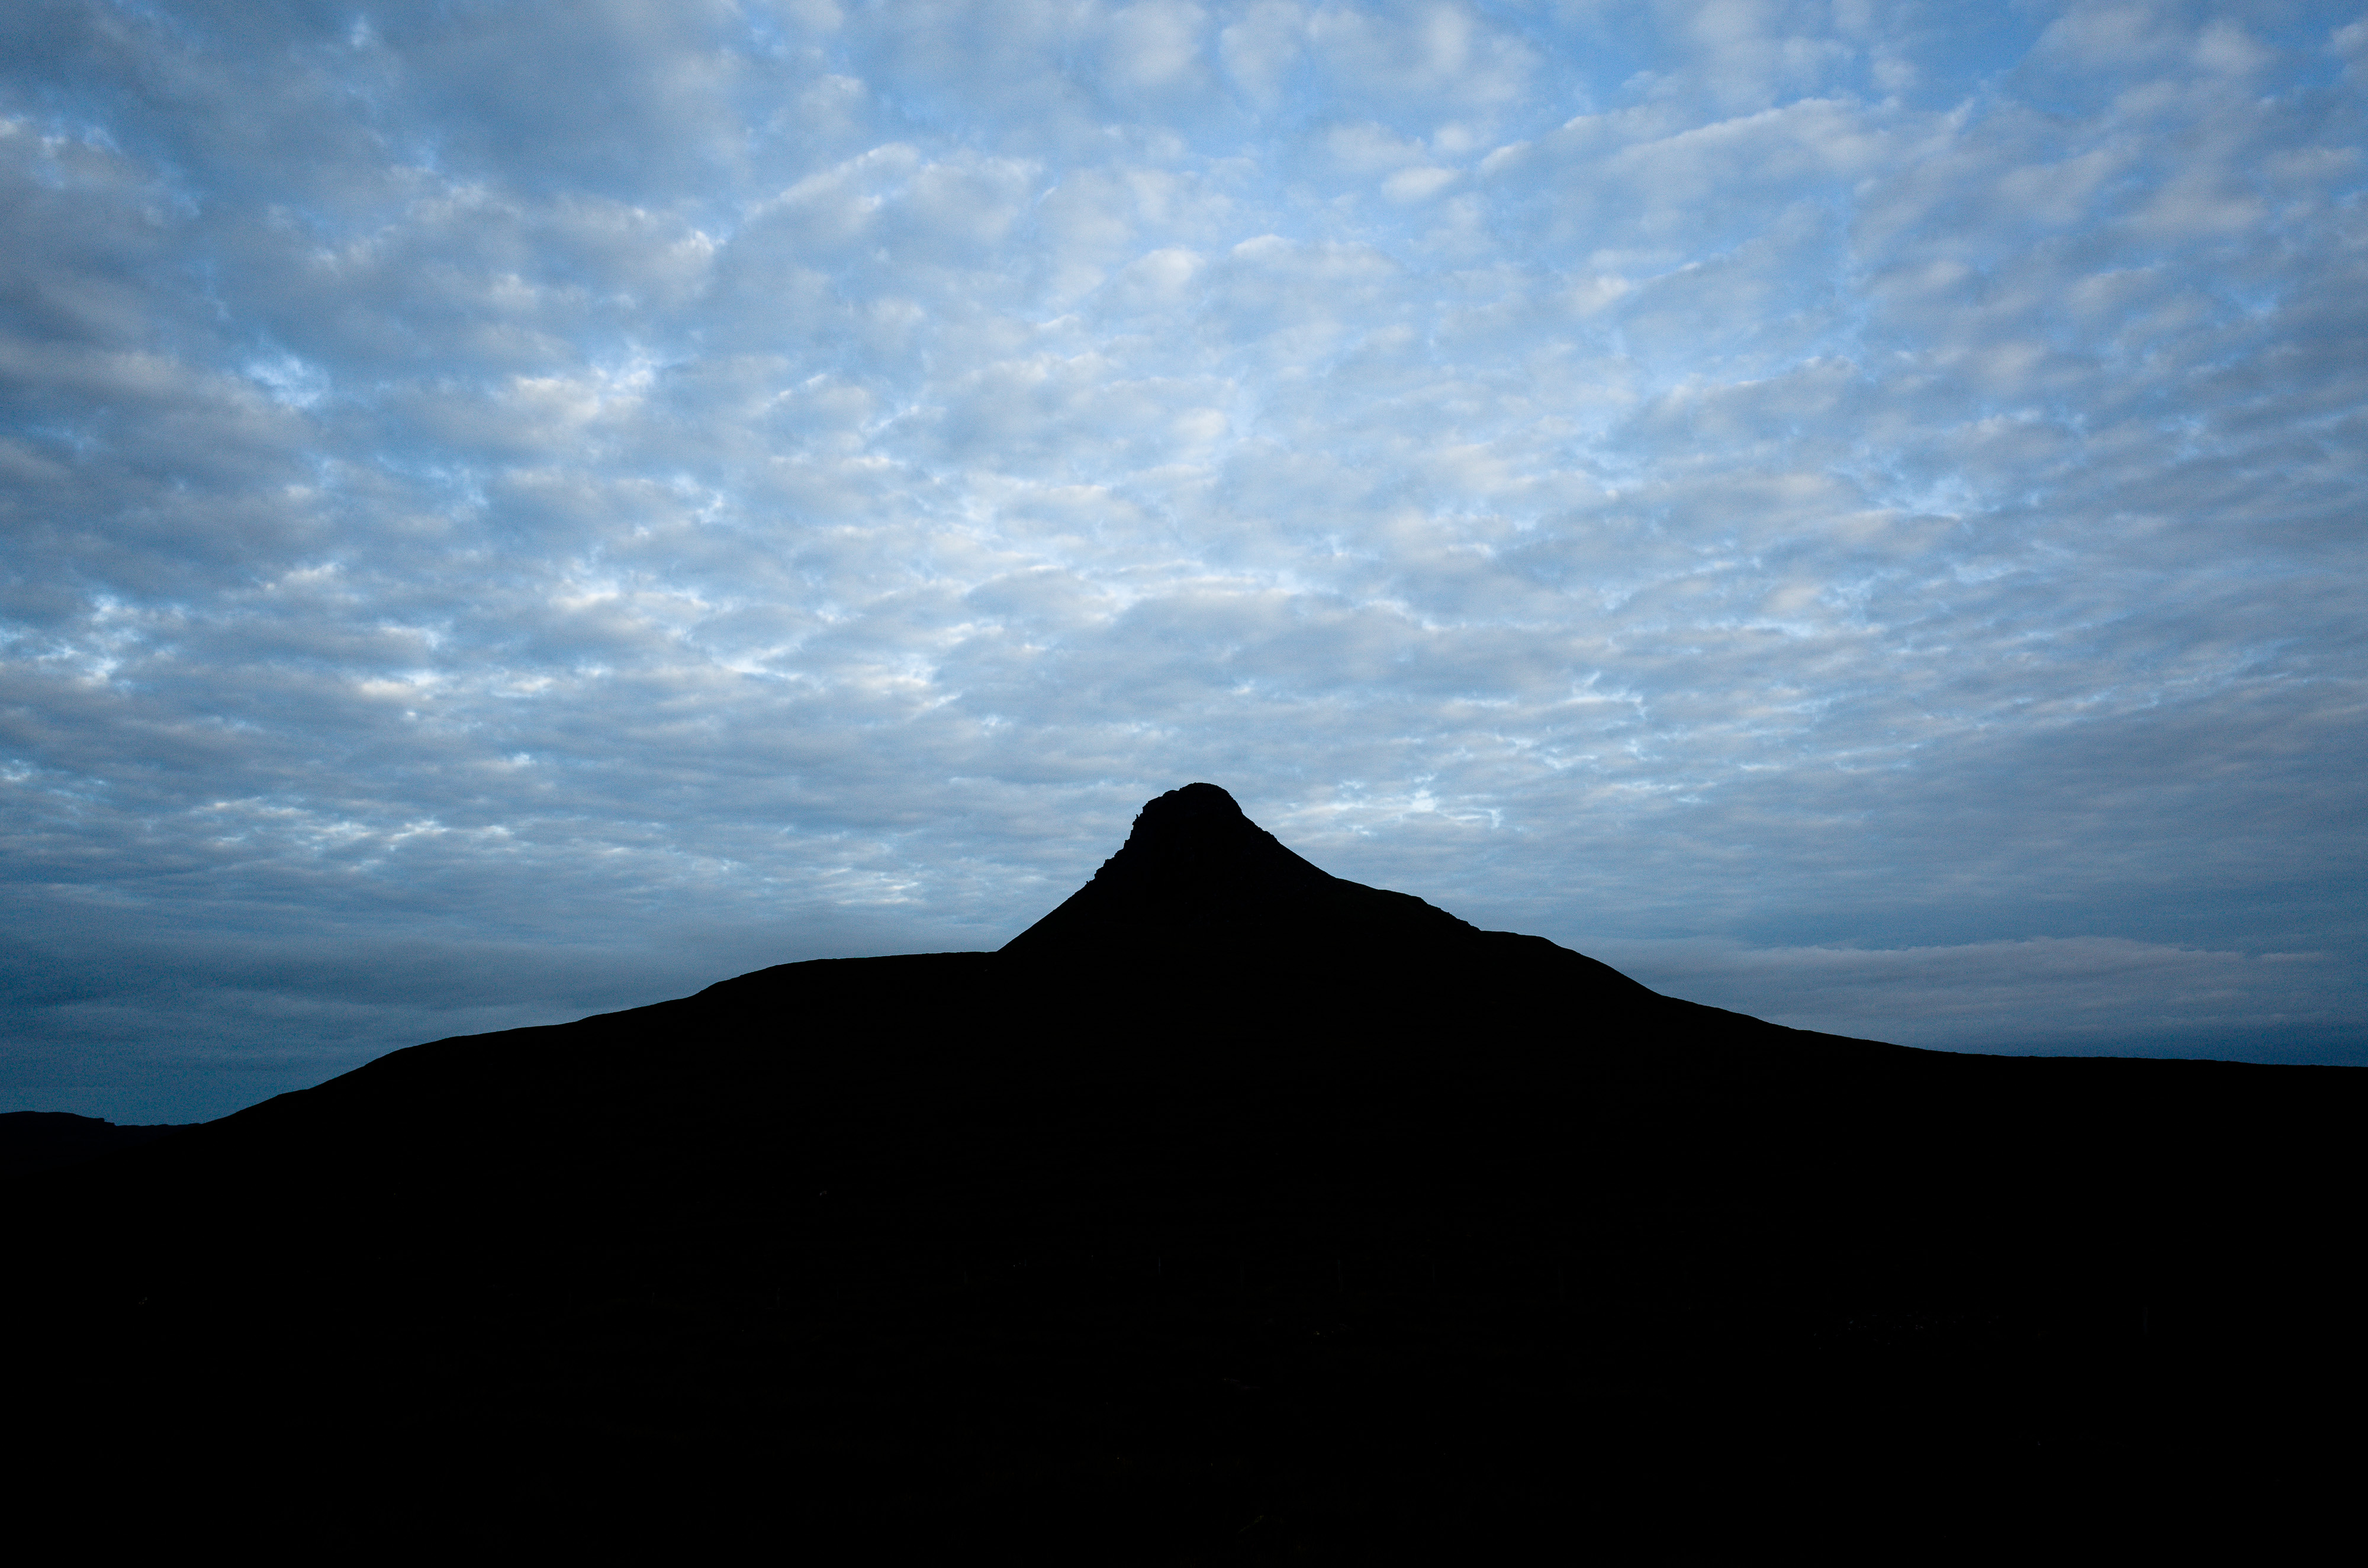
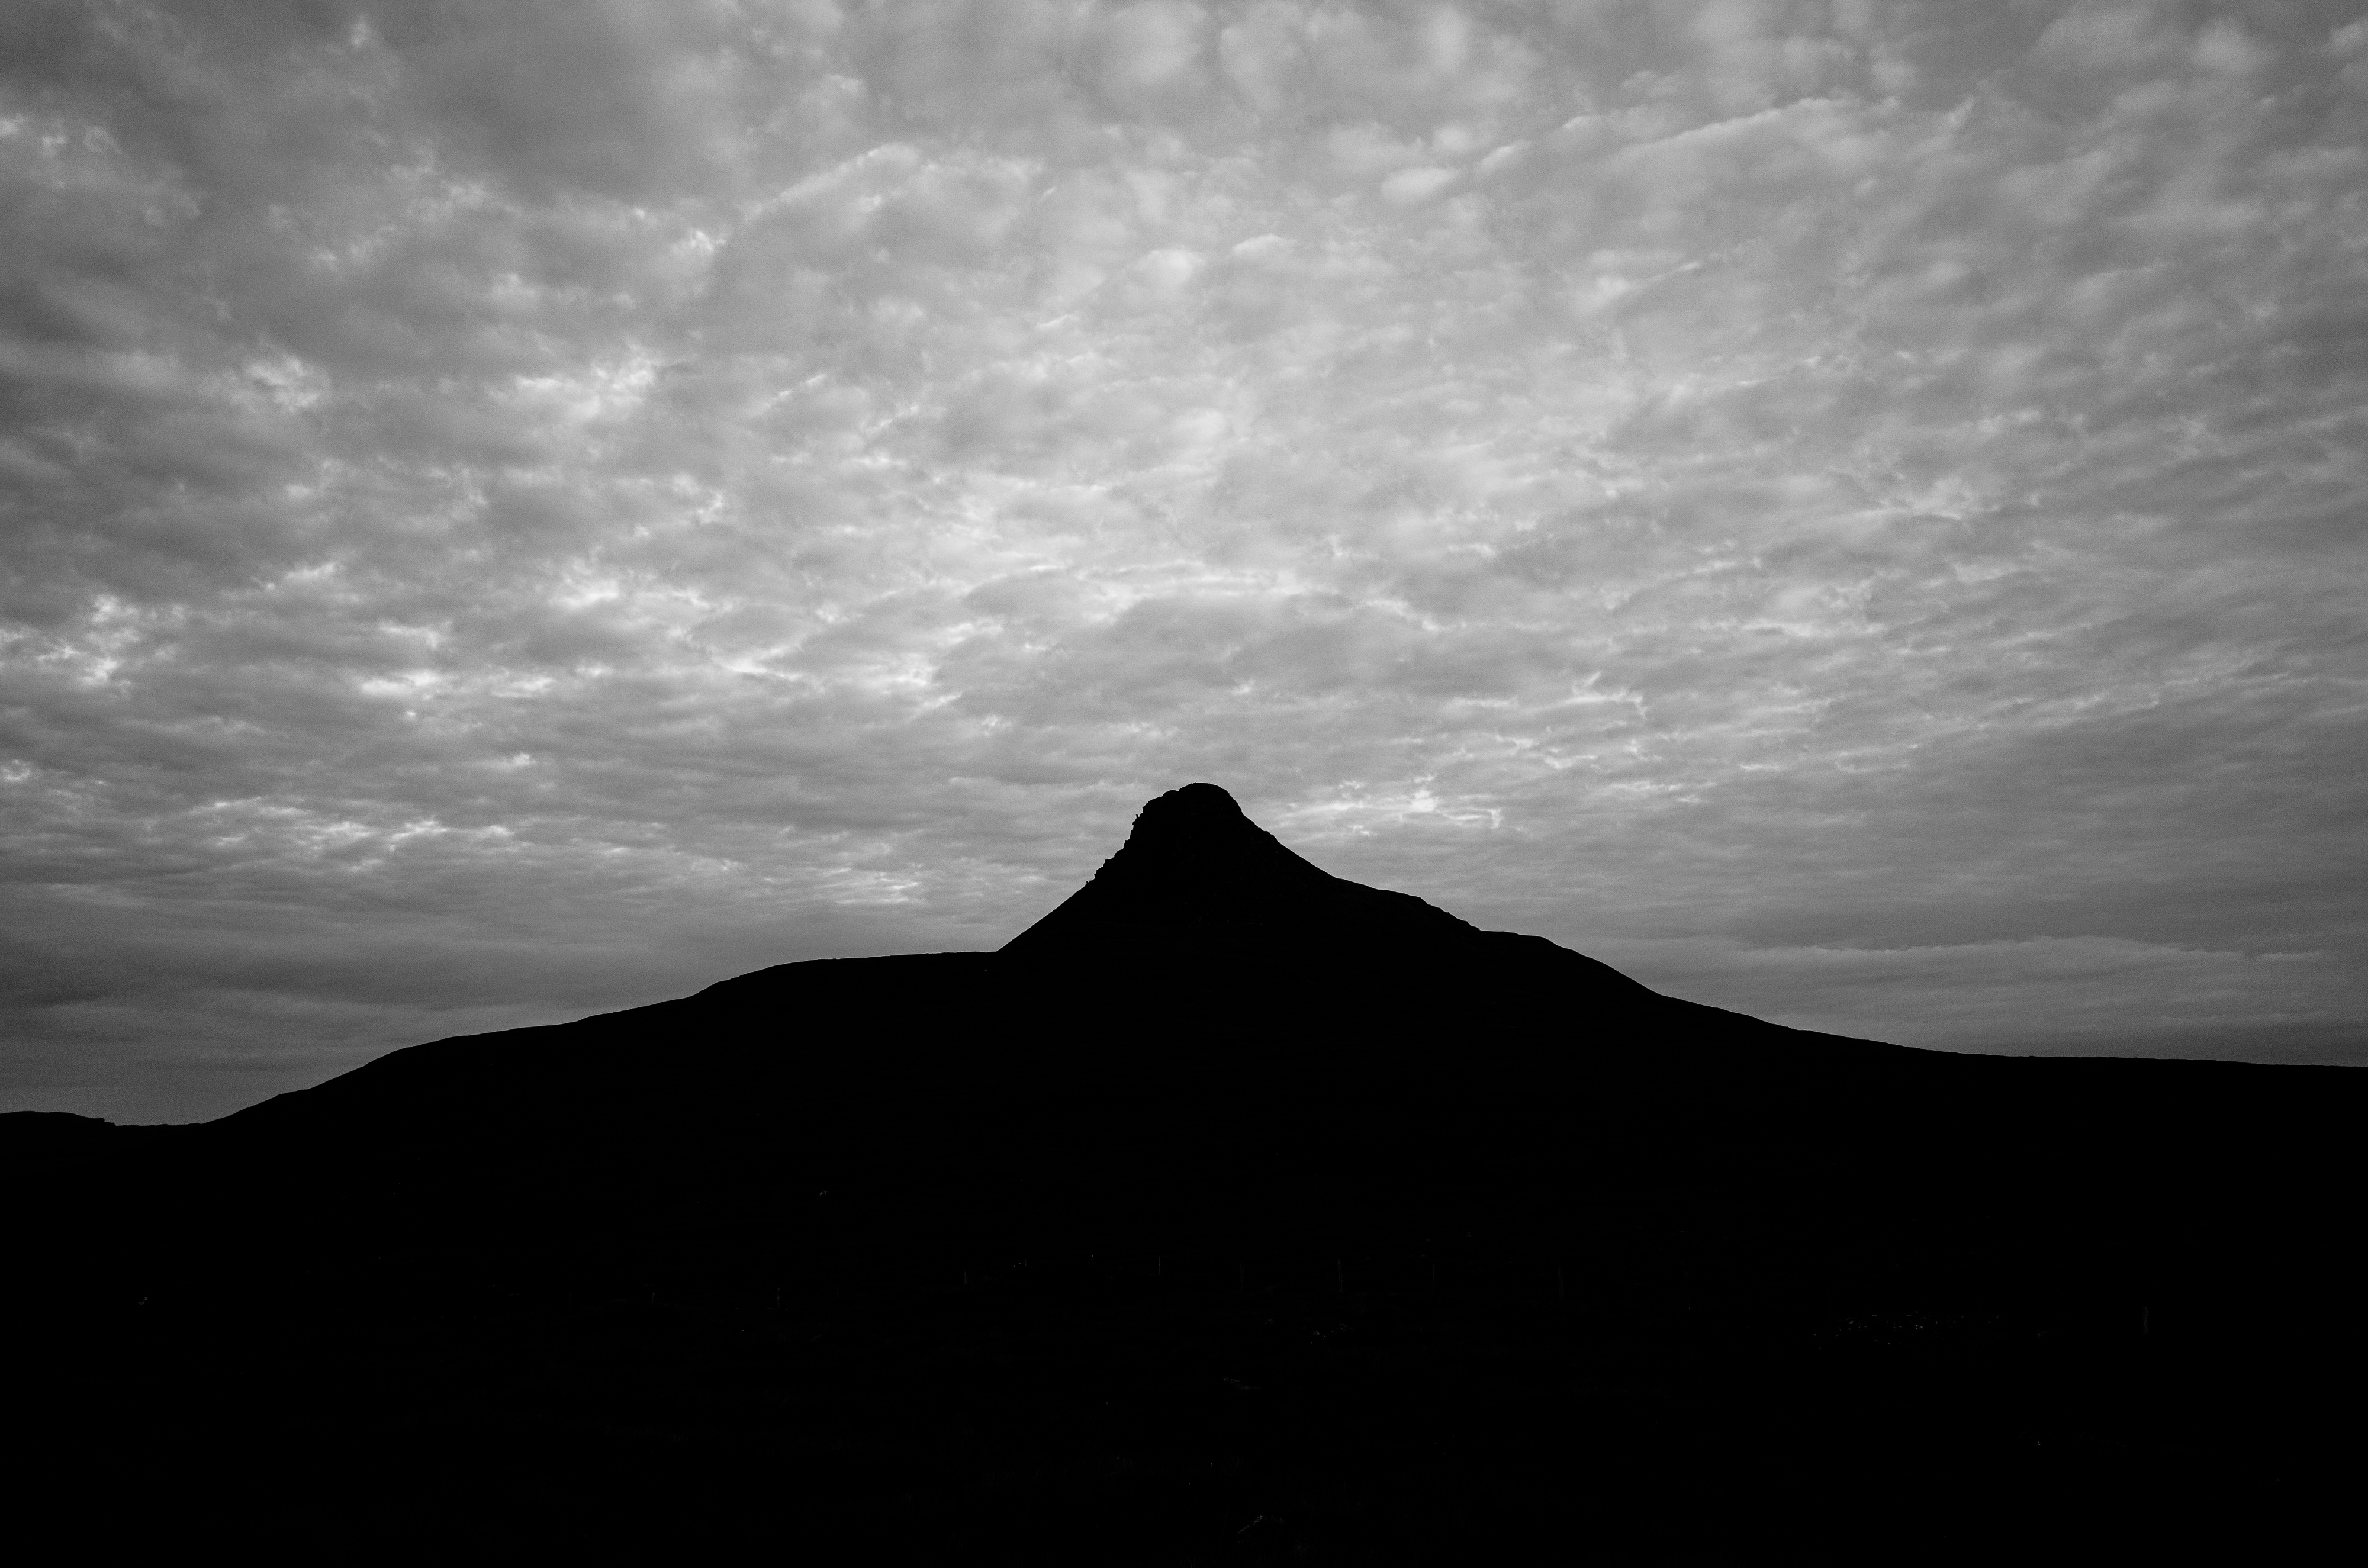
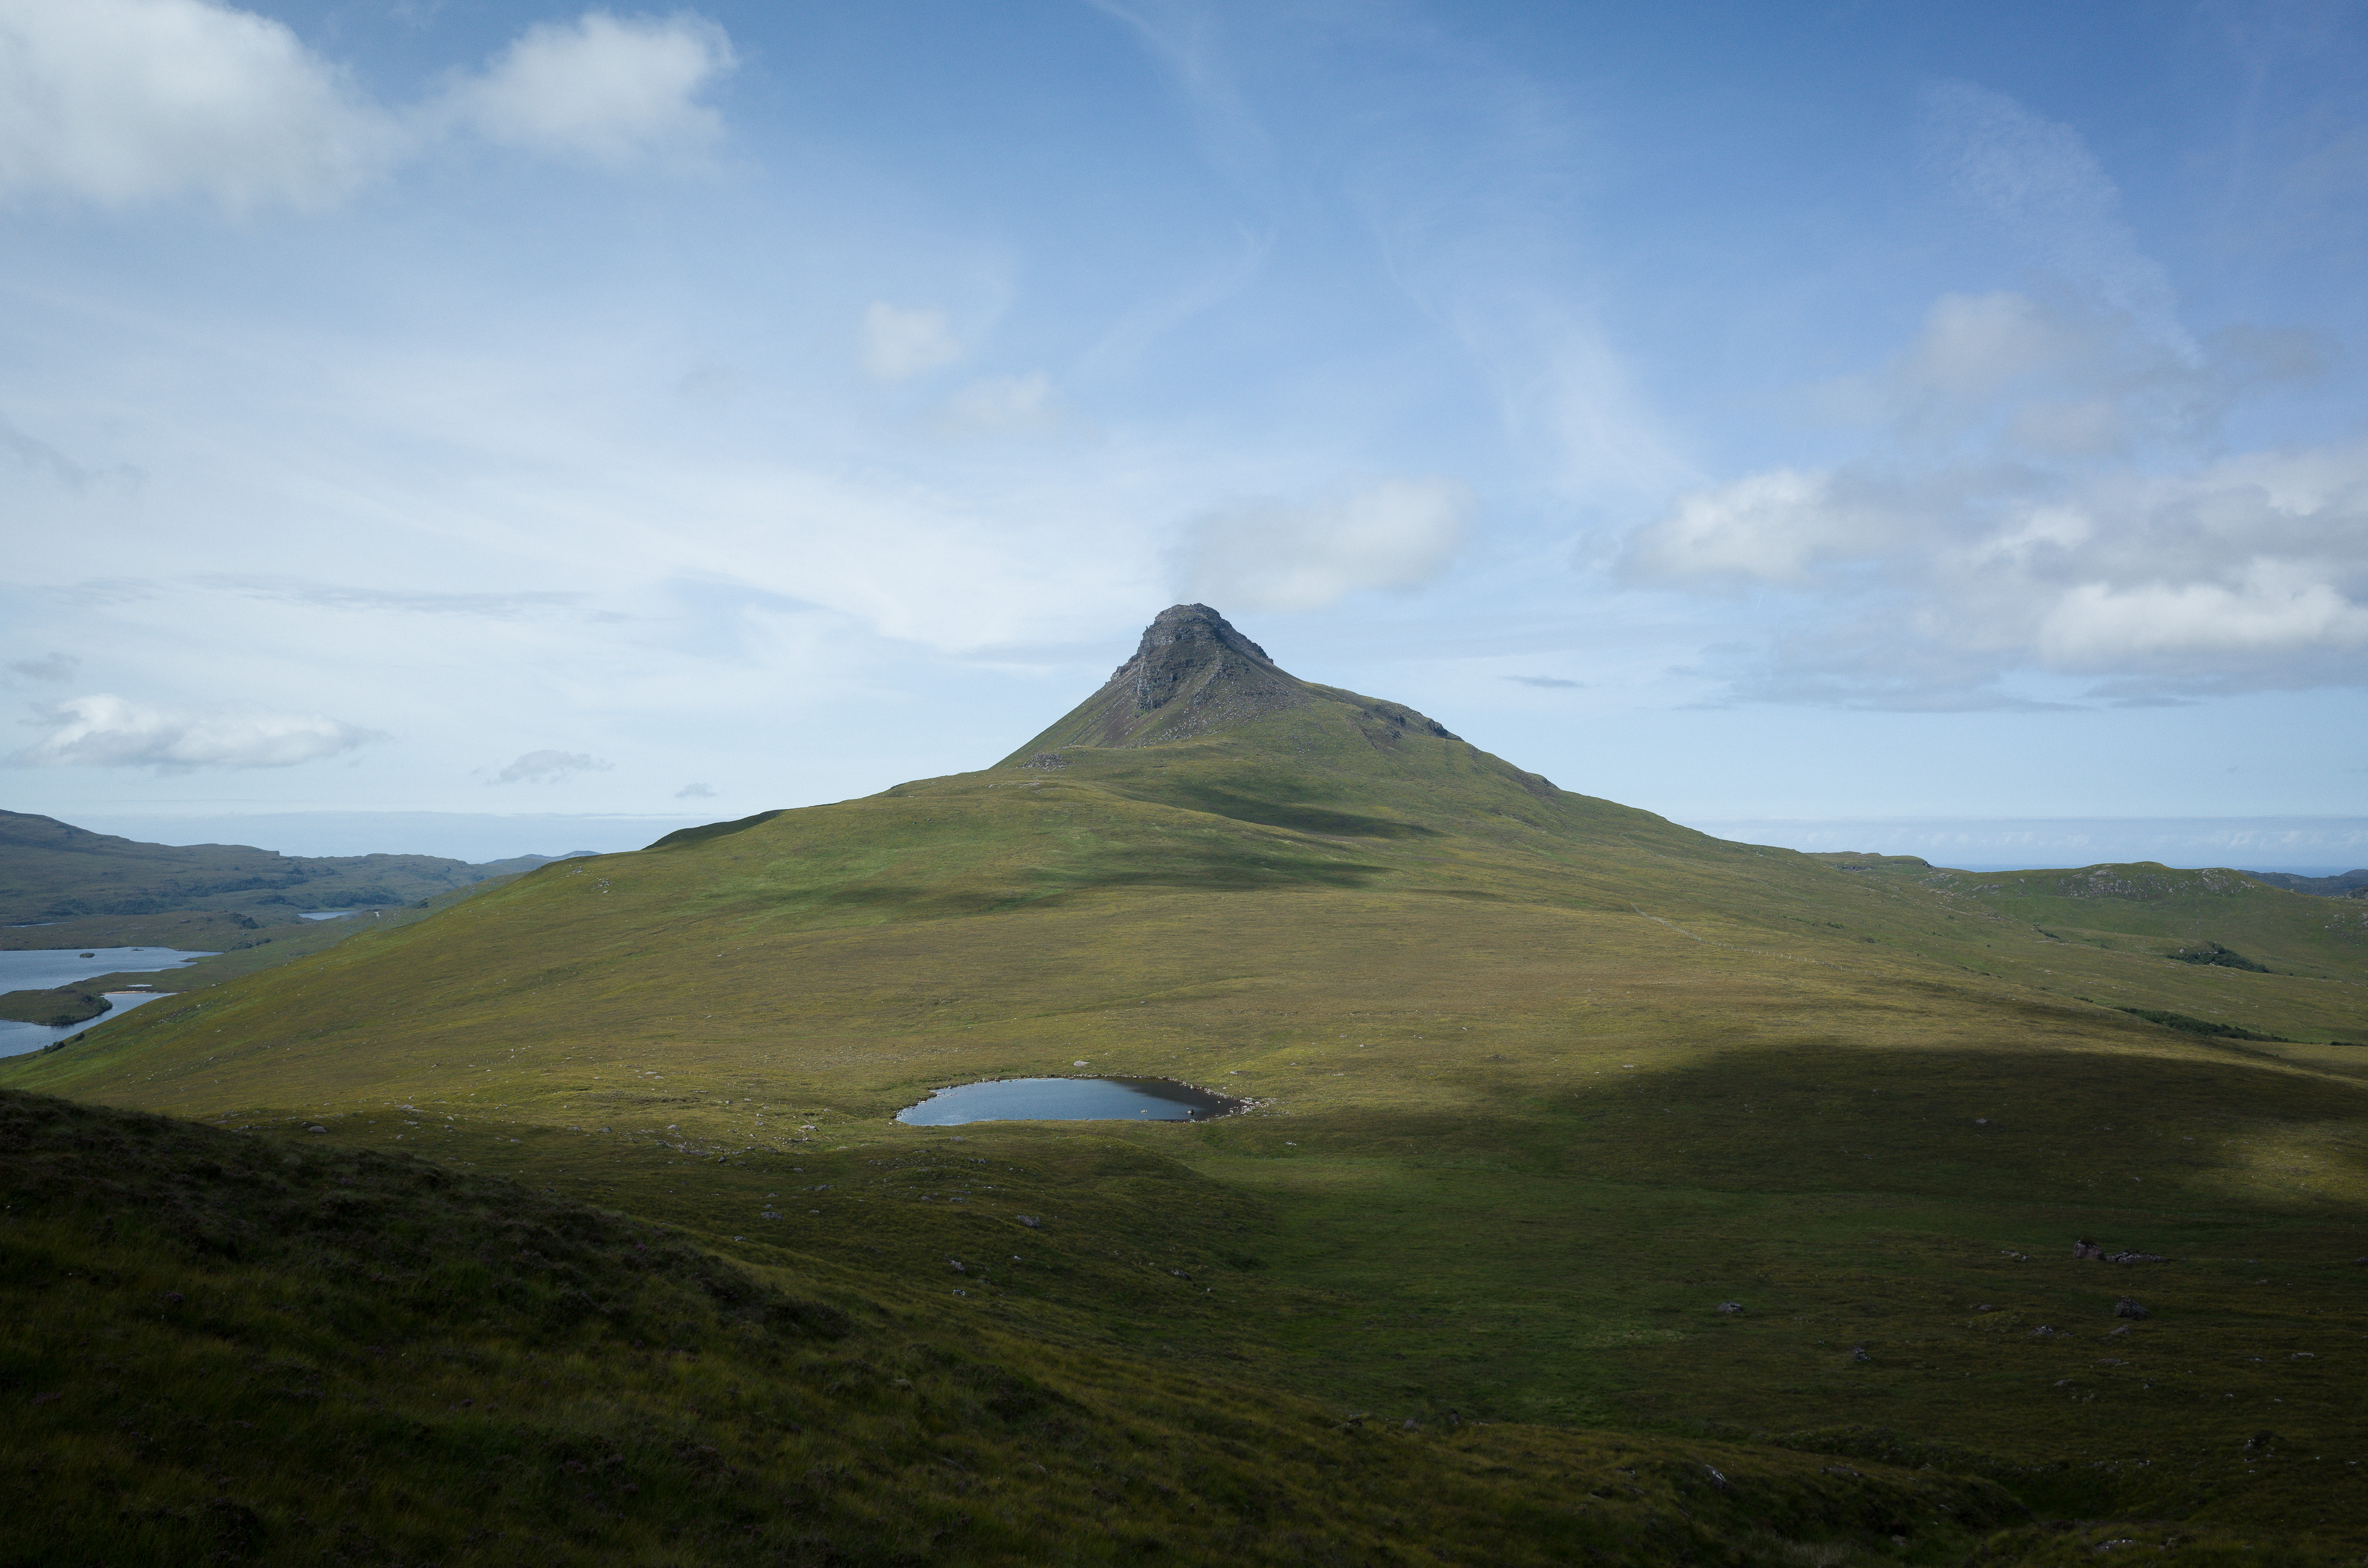
Despite having ultralight gear it was a quite tough walk up to the small lake on the plateau between Stac Pollaidh and Cul Beag, mainly because I missed the official footpath and instead climbed up steep and accross country over untouched marshy ground. But it was worth every step. After the exhausting ascent I paused high above the small lake between Stac Pollaidh and Cul Beag at the western slope of Cul Beag having a marvellous view to Stac Pollaidh and all the scenery.
Below are two selfie-videos showing the fantastic view to Stac Pollaidh and the small lake on the plateau, where I spent the second night in my tent.
The first video is in English and the second one in Swiss German, for those who want to learn my native language 😉 … please forgive me the somewhat a little less than perfect pronunciation of the Scottish plot names 😉 they are almost as simple to pronounce as our Swiss plot names, but nevertheless a little different. 😉
![]() Video in English. Stac Pollaidh.
Video in English. Stac Pollaidh.![]() Video in Swiss German. Stac Pollaidh and turn to the North.
Video in Swiss German. Stac Pollaidh and turn to the North.
Campsite #1
After an extended lunch break I crossed the plateau and headed down to the Loch an Doire Dhuibh. Using my binoculars I spotted a beautiful location near the water, still quite a long way to go – would it be a good campsite for the first night? The location was in the middle of a calm meadow between Loch Lon na h-Uamha and Loch an Doire Dhuibh, the rendezvous for Scottish deer drinking – and me.

Source and Copyright Google


After arrival at the peaceful Loch I prepared for the night: Seleting the perfect location for my tent, setting it up, preparing all my gear, i.e. sleeping bag with inlet and mat, having dinner, and was sitting a long time in front of my tent, and then … hmm …
… what to do all the evening long?
After several weeks of unbelievable hectic business work I wanted to calm down – this early evening was like a welcome gift for me to digital detox, and to take my time and refocus on real life. What a silent dream – I wished time would stand still. Having plenty of time in the middle of this fantastic nowhere! I couldn’t see enough of the stunning and quiet scenery all around me, and I enjoyed quiet moments of happyness in total isolation and silence. I was all alone.
After an hour or so I finally decided to explore the nearby with my camera, making some slow photographs.
Photograph
Why not shooting film? #filmisnotdead!
Or should I stick with all the advantages and the convenience of modern digital cameras instead – and just shoot like film?
I really love modern digital cameras – but keep in mind I was growing up with film – yes, I had the priviledge to use Kodachrome 64 back in my old analogue film days – for my taste most of all modern digital cameras seem to be – let’s call – ‘too digital’ and rather seem to resemble a computer instead of a camera. That’s why I bought the RICOH GR II. I love the ‘analogue film style’ of my RICOH GR II, I guess it is – or at least in my opinion it is the ‘most analogue film digital camera‘ 😉 on the market right now – next to the Fujifilm X-Trans cameras and the rather exotic and newly reborn classic YASHICA digiFilm camera Y35, which I am going to test soon by the way; I will show some images made with the YASHICA digiFilm camera Y35 later on this blog channel – so stay tuned.
I often try to achieve the soft analogue film look of past positive or negative films like Kodak’s Kodachrome, Ektachrome or Portra – some of them still exist! Kodak is even remanufacturing the Ektachrome 100 – thank you Kodak! This proves that #filmisnotdead – or Fujifilm’s Astia and Provia. I love their unique soft tones.
Just in case you may think: Why making things more complicated that they are – why not simply choosing one of the beautiful old film presets of VSCO – as an example? You are right, but would it make me happy? It would not be a challenge anymore! It is just a commercial preset anyone has … no, I wanted to develop my own style – without commercial presets … So I have been testing a lot until I finally got exactly the old analogue film style I wanted, but using my modern digital camera.
Here is my receipe how to achieve the desired film look in Adobe Photoshop Lightroom.
Tone: Exposure: +0.70; Contrast: -30
Processing parameters in Adobe Photoshop Lightroom, on the base of a RICOH GR II .DNG file.
Presence: Clarity: +10; Vibrance: -20; Saturation: -20
Tone Curve: Highlights: -15; Lights: -10; Darks: +5, Shadows: 0
Saturation: Blue: -45; Luminance: Aqua: -100, Blue: -100
Sharpening: Amount: 35, Radius: 0.5, Detail: 40, Masking: 0
Noise Reduction: Luminance and Color both set to 0
Post Crop Vignetting: Style: Highlight Priority; Amount: -5; Grain: Amount: 0
Below are a few examples. [Click to enlarge]


But let us go back to my trekking trip.
Evening light


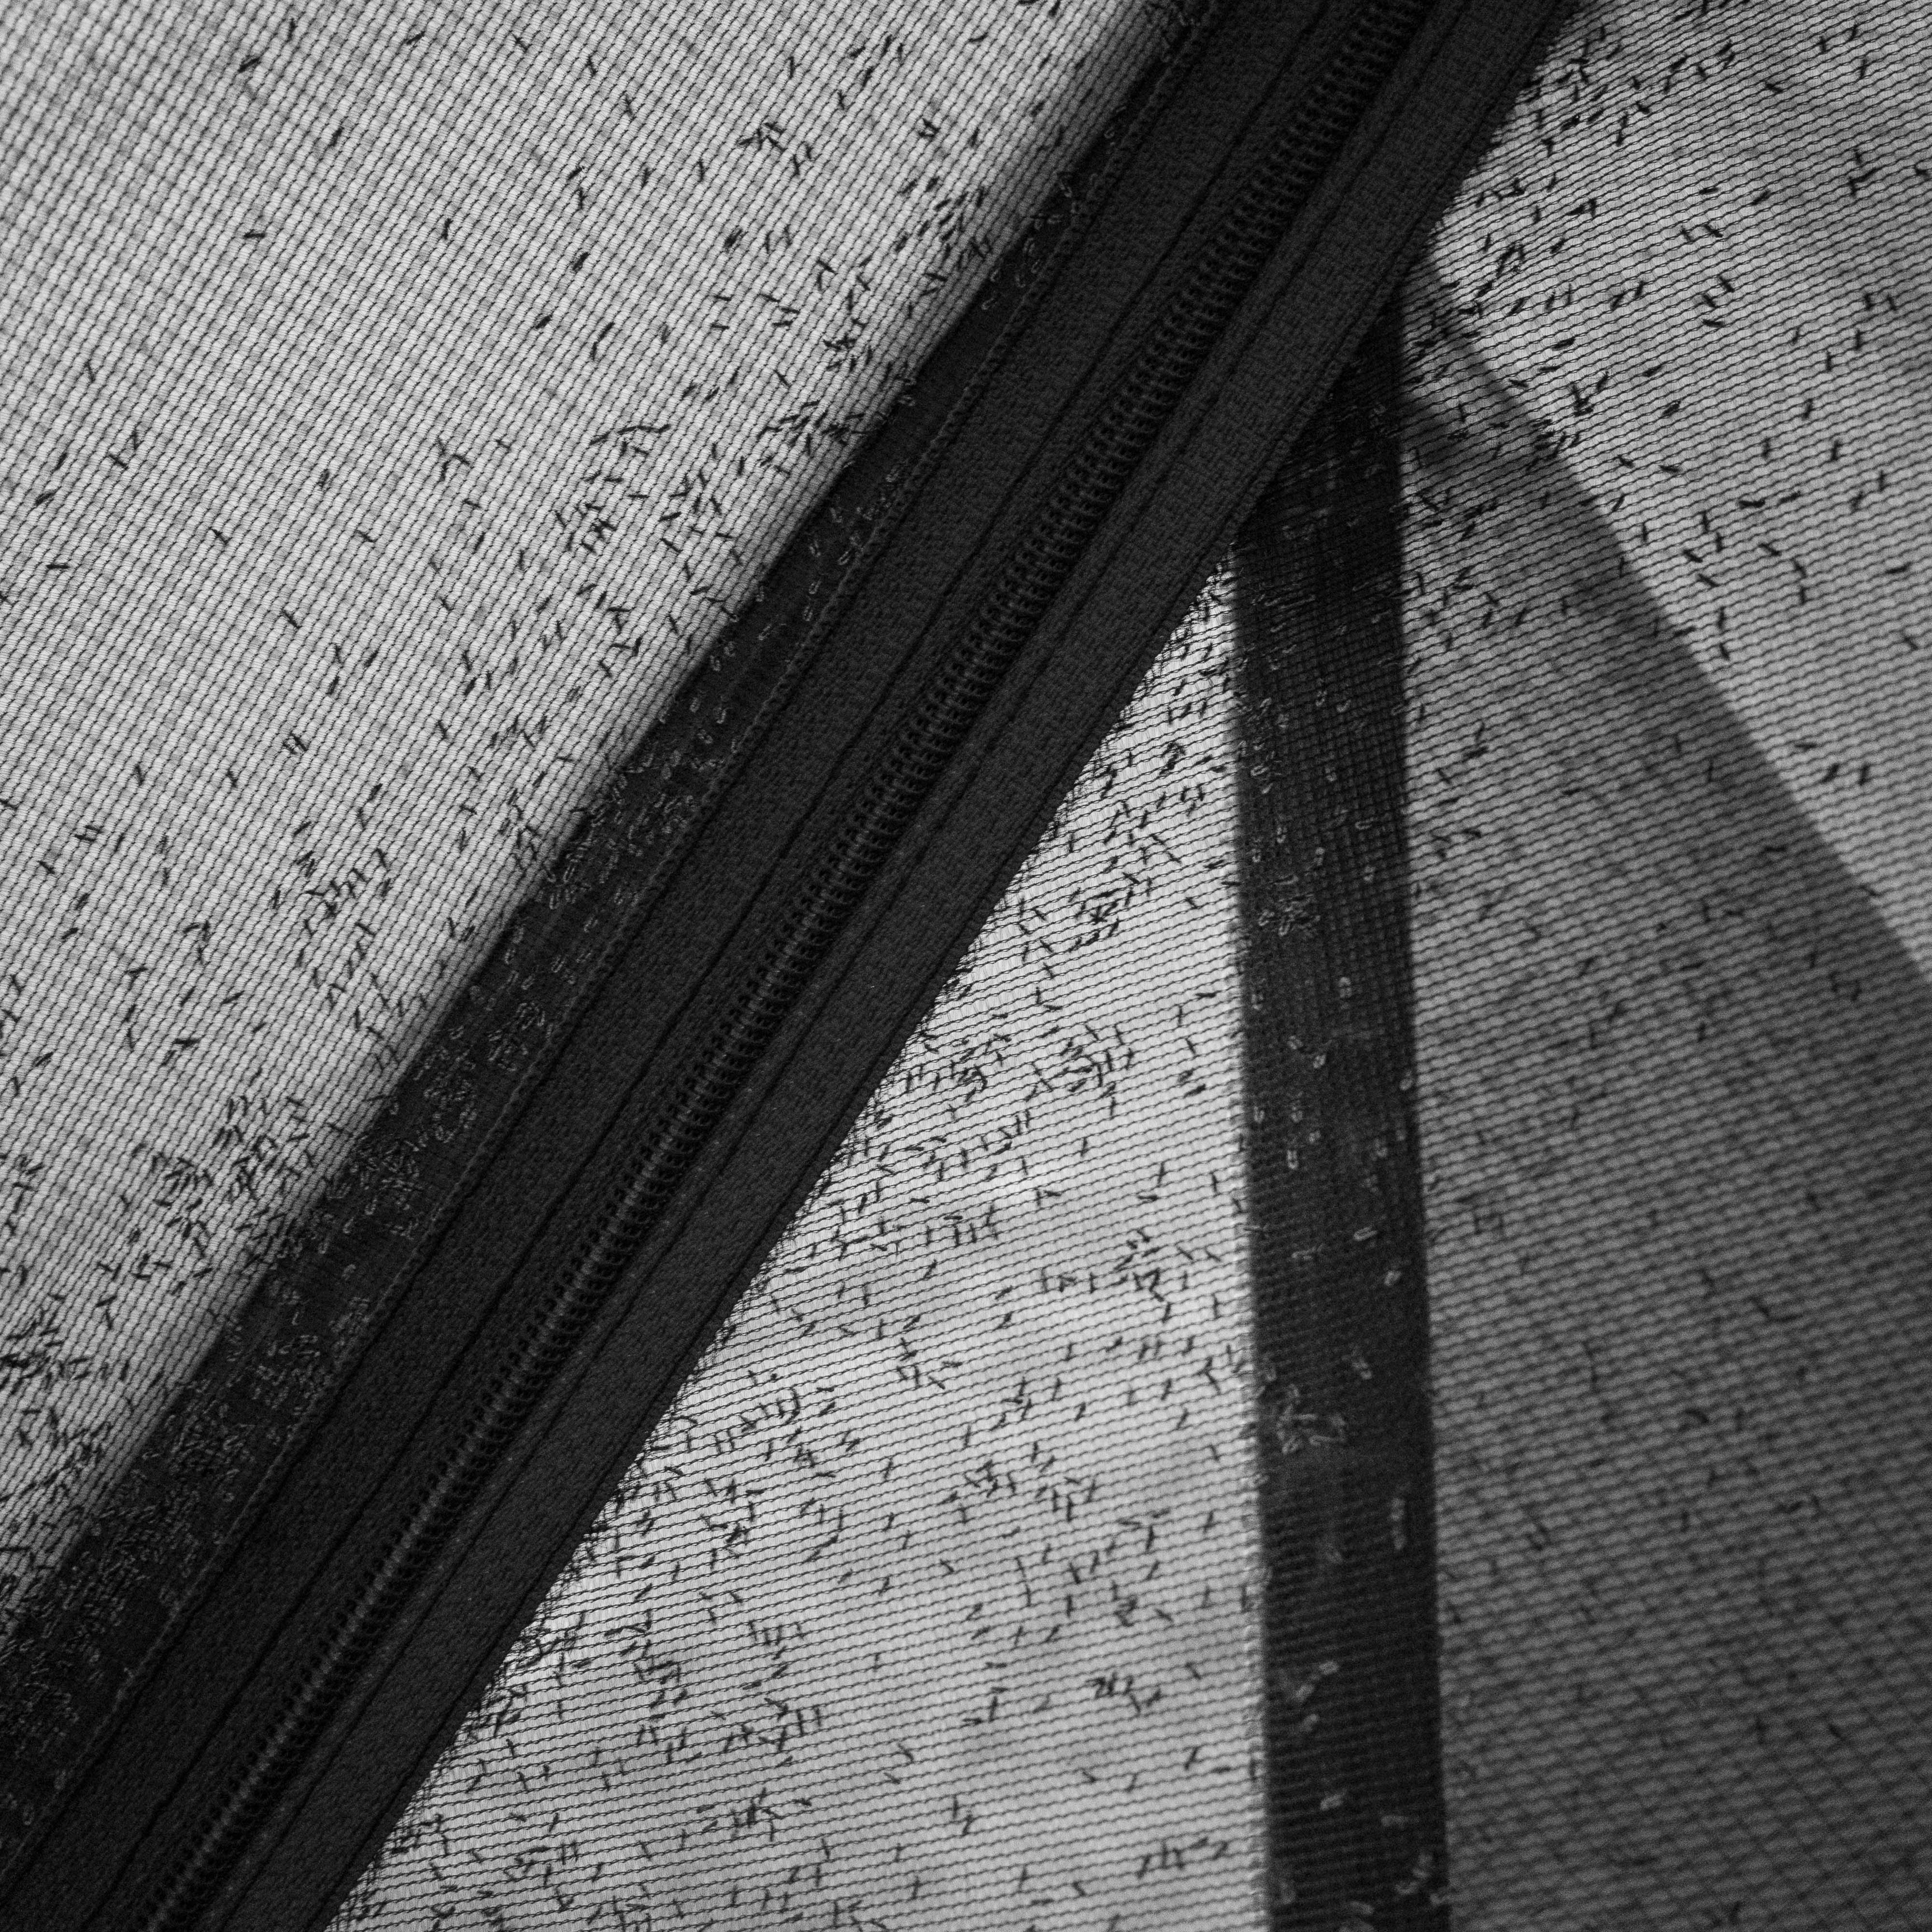
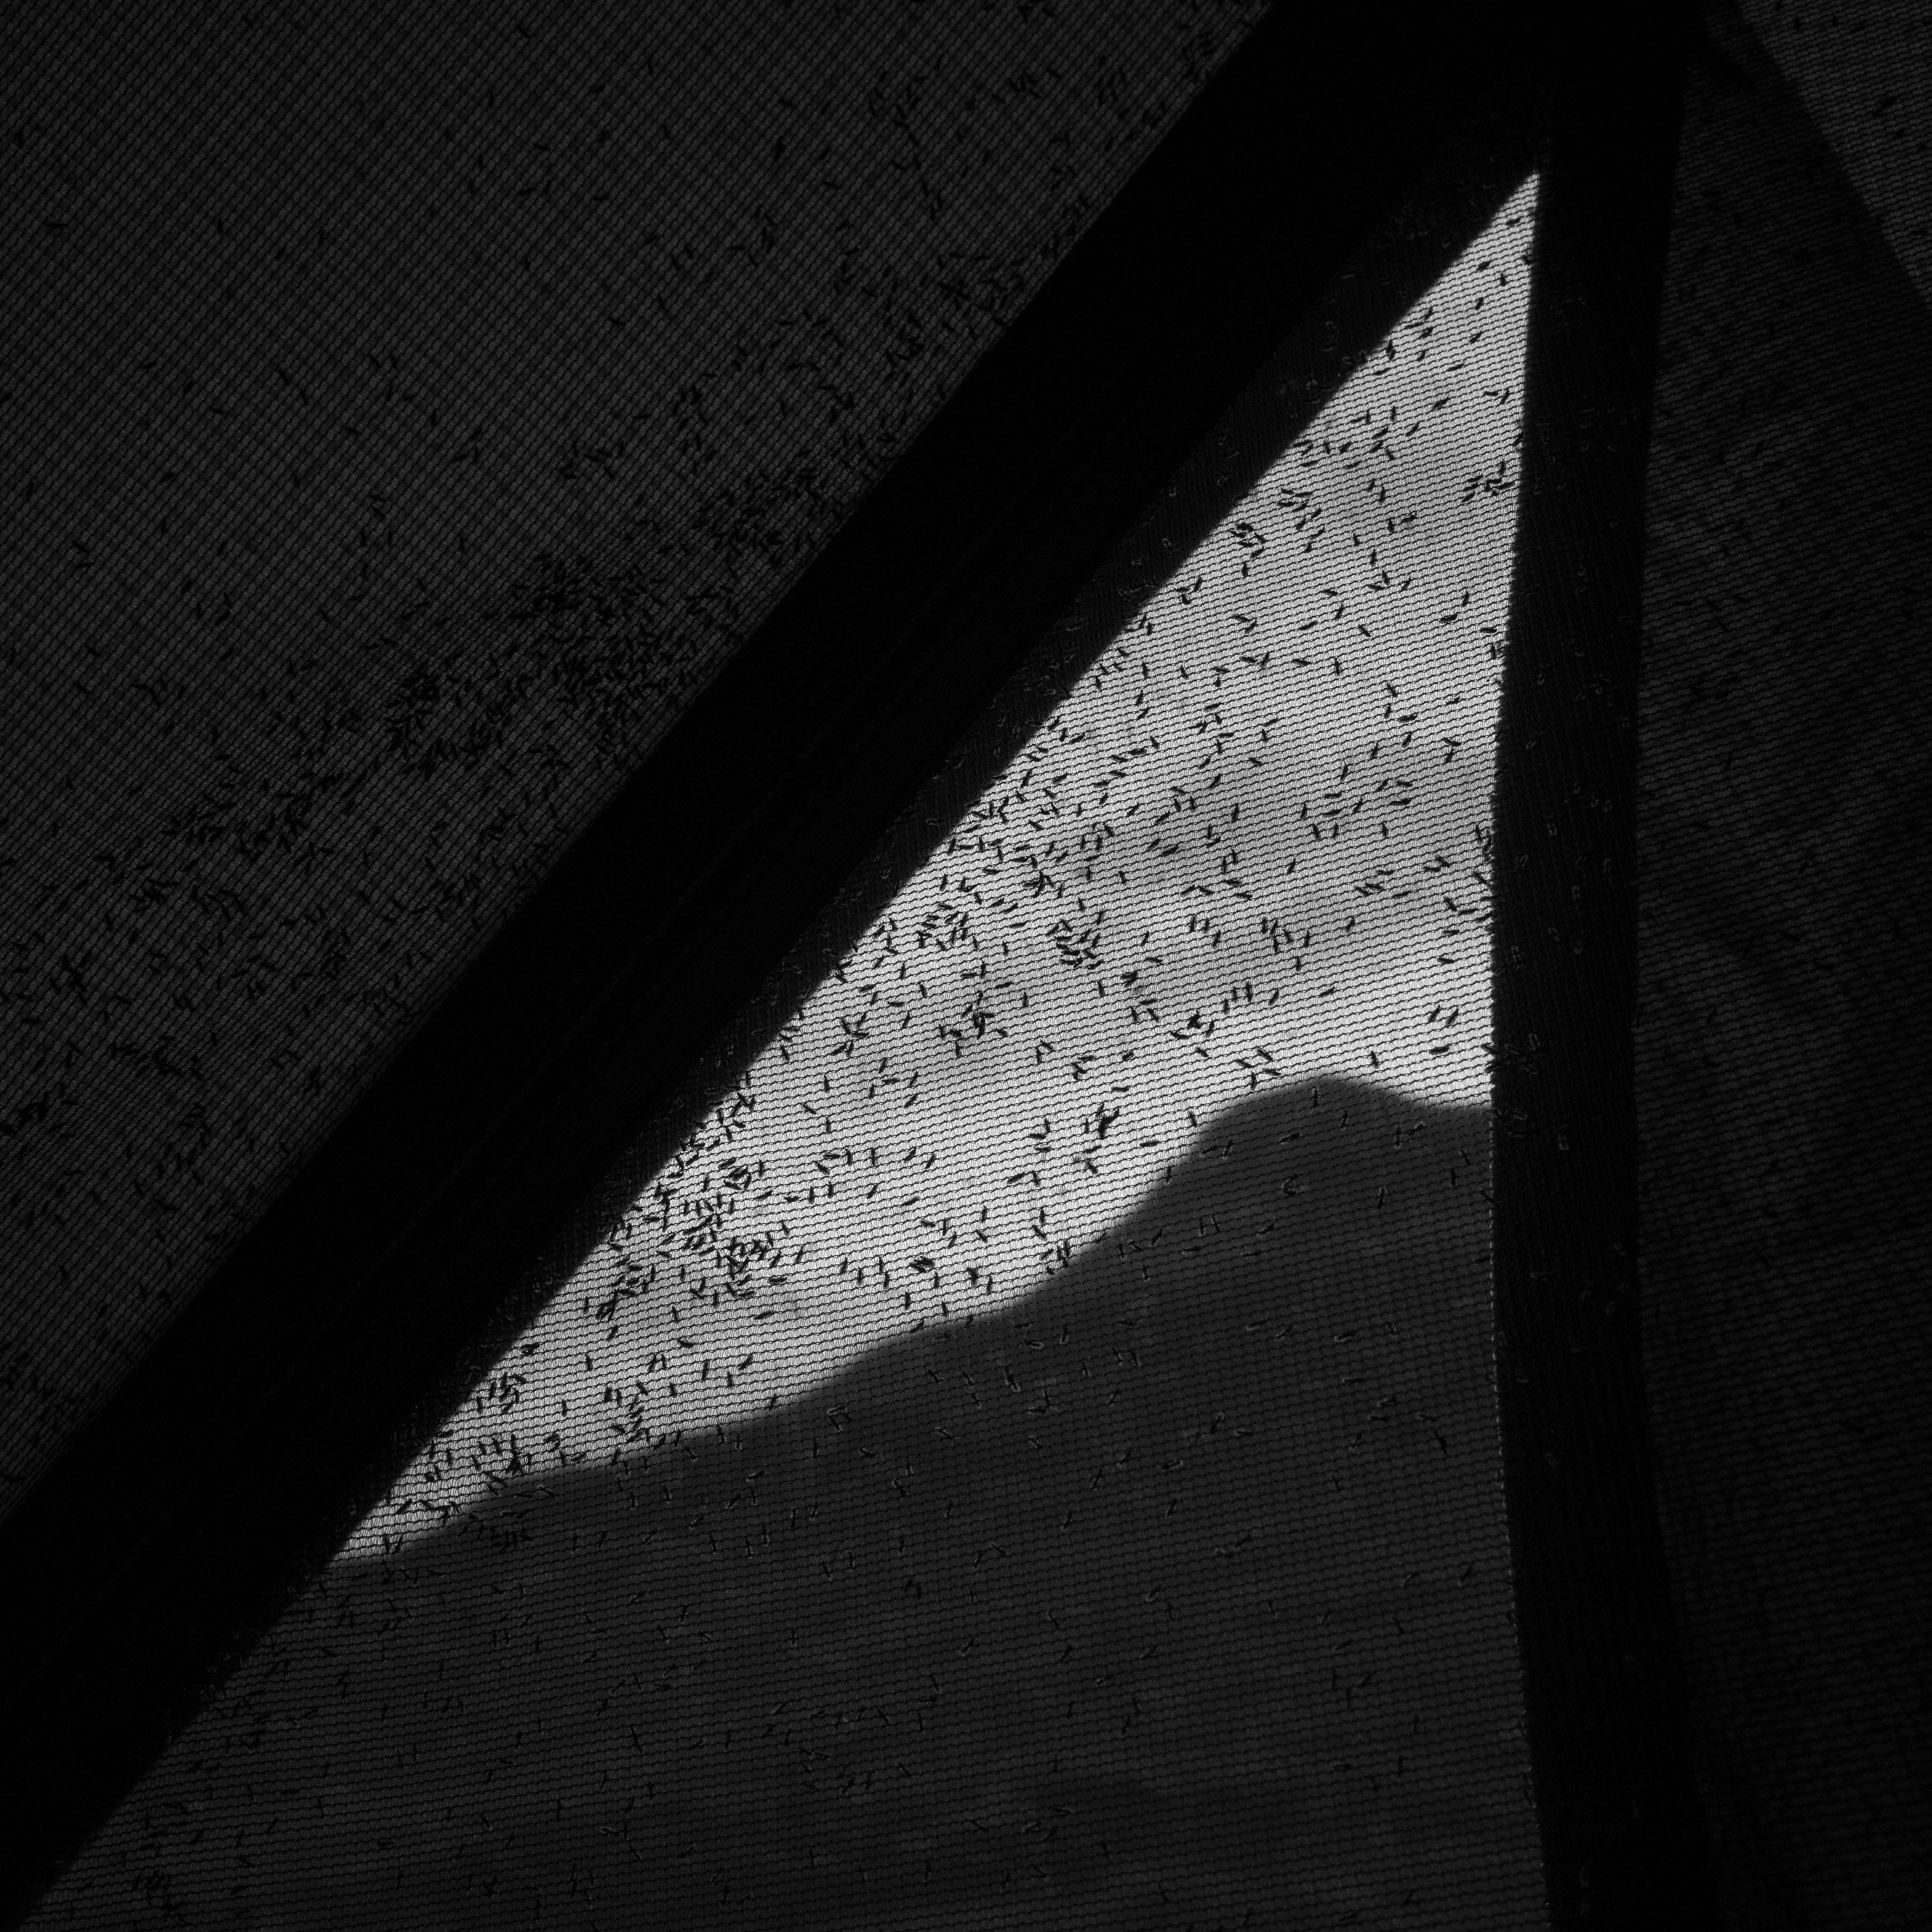
Millions of midges – and me.
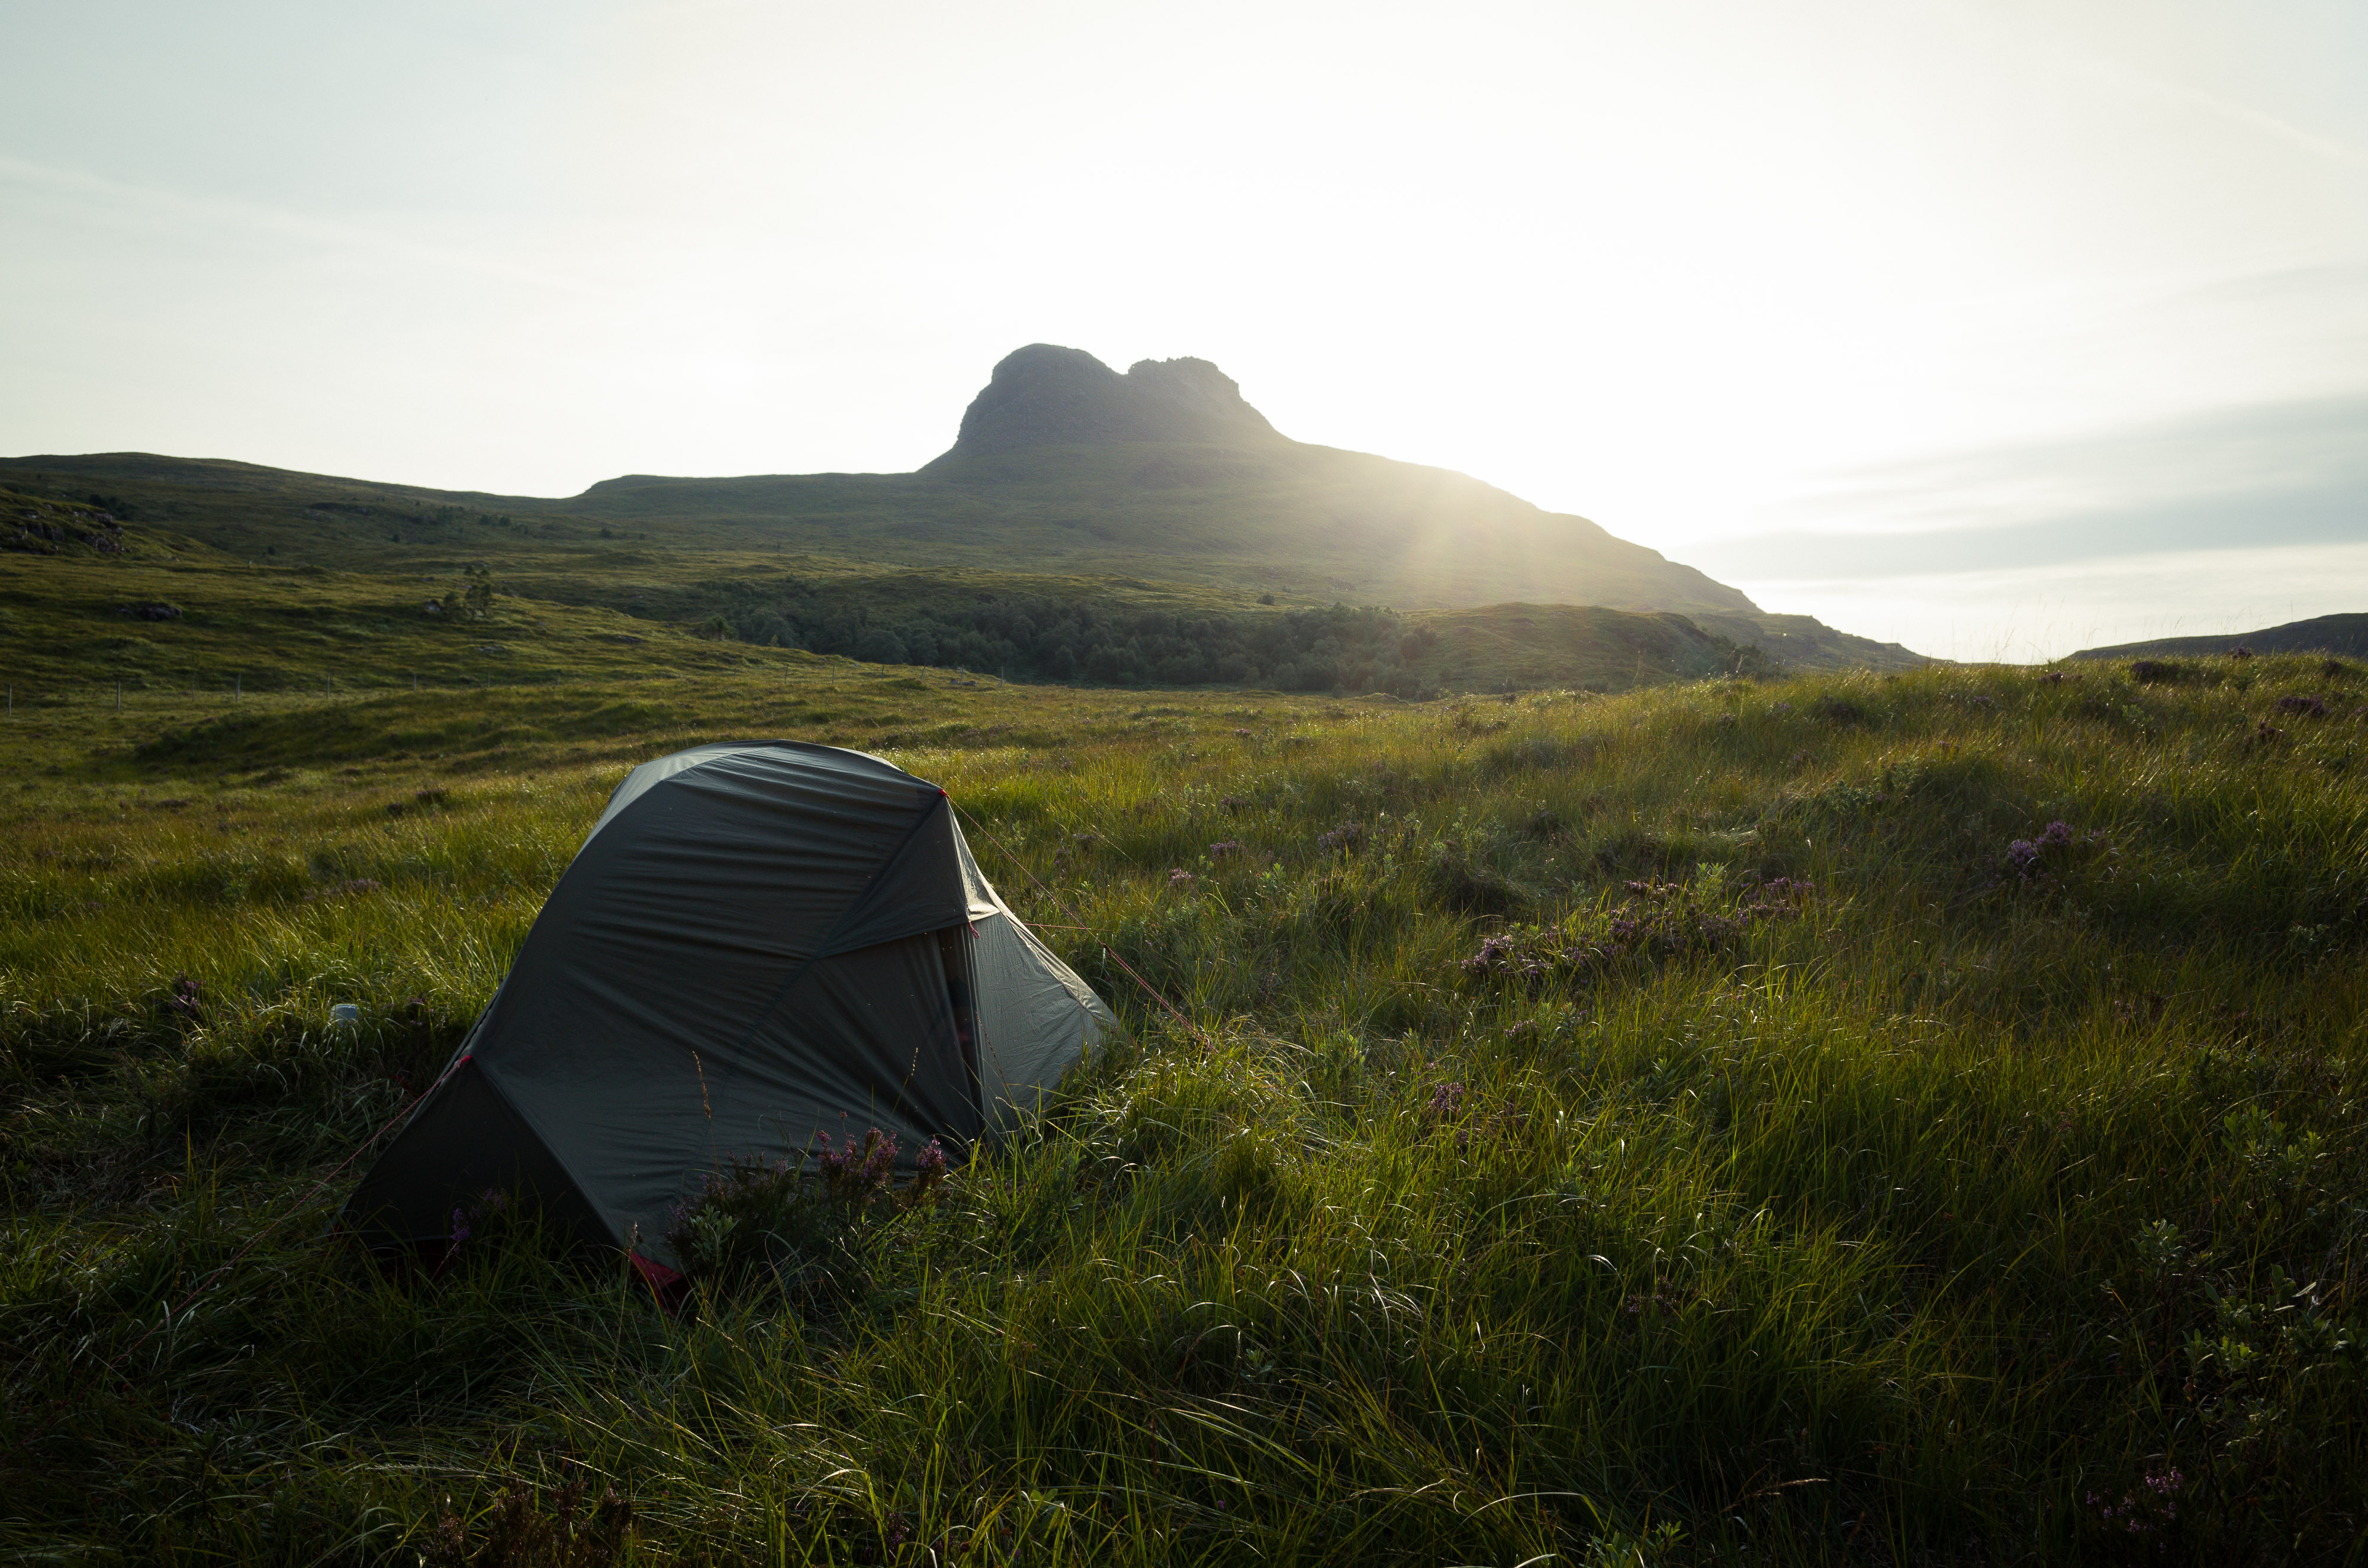
Well – the midges … I was glad to have my MSR Hubba NX solo backpacking tent with me, it’s mesh inner sheltered me from millions of those lousy little beasts trying to attack me – but in my tent I was safe and had a calm deep sleep.
Day 2; August 20th, 2018
Almost reborn and deeply relaxed I decided to set off to the small lake I saw yesterday from high above – as I said in the videos I wanted to stay a night near the small lake. Due to the midges I packed all my stuff in a hurry and set off, back again on the small footpath I came from. Half way to the small lake I had an extensive breakfast – my beloved Scottish oats boiled up in yellow colored Scottish peat water, a boiled egg and the absolute must-have-in-order-to-work – my black coffee. Even the Scottish weather was good – what a great experience to be out in the green for several days and nights, all alone – be one with the wild nature and the Scottish elements!
Campsite #2
As soon as I arrived at the small lake I steaked early – this time on top of a small ridge, having a slight breeze on my tent, which should help to protect against the midges. And it worked – at least a little.

Source and Copyright Google
Stealth camping

I have always preferred olive-green coloured tents, they are unobstrusive, hardly to be spotted and give a chance to stealth camping, they are nearly invisible. During all three days I met a group of four hikers and two joggers – dear, they were fit! – but none of them seemed to have got aware of my tent, although it was set up only 50 m next to the footpath … this is stealth camping 😉 But I am sure, they wouldn’t have mind me wild camping. Like everywhere in almost total wilderness we had a small talk asking each other for useful tips and the best direction.

After setting up my tent I explored the afternoon and early evening light on Loch Lurgainn. These glittering reflections on the calm water gave a strong contrast to the dark hills around it. I spent several hours with my camera and my tripod, observing the light, photographing, composing and recomposing the image again and again – and ended up with hundreds of beautiful images – and it was really difficult to finally decide which one is the best.
All in all this was digital detox in it’s best manner. Slowing down and refocussing on real life again.

Day 3; August 21st, 2018
Look at this beautiful early morning light! Time to have breakfast? No, first get out of the tent and make some photographs! And afterwards have breakfast and set off and go back to civilization.


I will never forget those three days around Stac Pollaidh.
—
Images: Ricoh GR II, GR Lens f=18.3 mm 1:2.8. .DNG RAW format. Edited in Adobe Photoshop Lightroom. Video: Samsung Galaxy A5 (2016).
Did you like this photo blog post?
Thank you for your comments!
Your comment in the comment section below is highly appreciated, thank you!
Home
Thank you for reading.
You can sign up for my newsletter here.

Oh, that’s a very very beautiful blog! I like it so much!
Yes, sure I can spot your small tent! It’s so nice!
It’s a very long blog, but I like it! It’s so good!❤️❤️
Thank you Cécile. It’s always nice to see you reading my blog posts. Thank you.
Beautiful pictures and very exciting to read. Even if it’s a long blog.
I also found your tent. 😉
Cul Mor, Bod a ‘Mhadail, that’s my favorite picture!
And the image of the meadow with the two contrails in the sky.
Thank you so much for reading and leaving your comment! It’s a the old analogue film style and the desaturated colours which make those two images unique – right? I am happy you like them! Thank you!
Yes, the old analogue style and the tranquility in these pictures. Wonderful!
Thank you!